

Your first project
This walks through a new project from start to play: a floor, a box and a camera to see them by.
Create the project
Section titled “Create the project”Start the editor without a project and it opens the project manager.
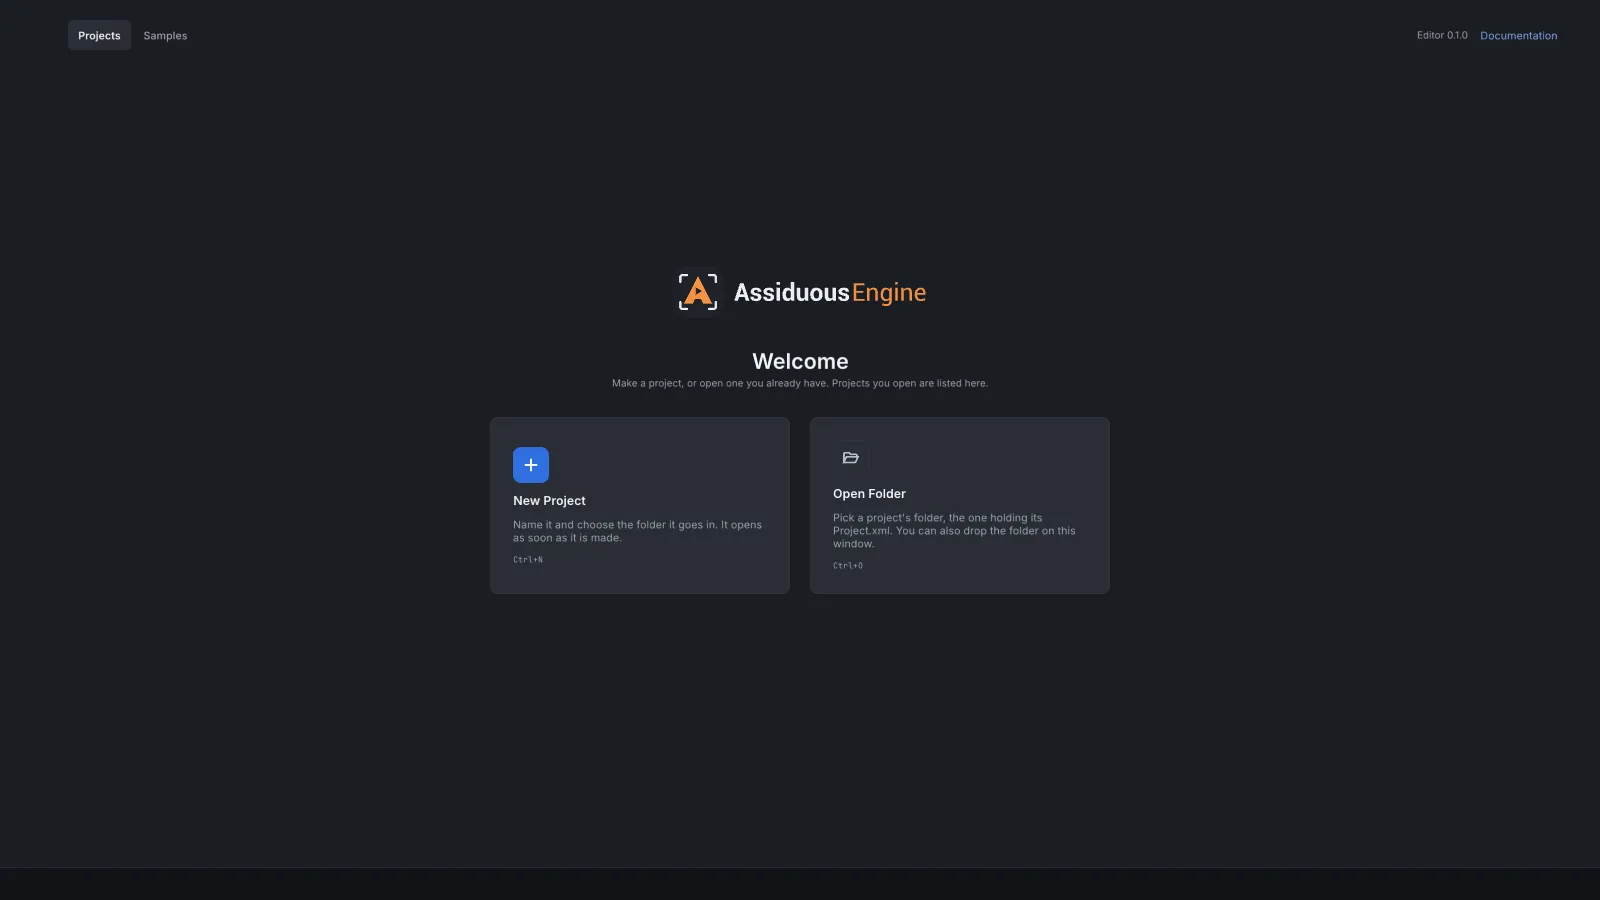
Choose New Project…, give the project a name, and pick the folder to create it in (the project gets its own folder inside it, named after it). Create makes the project and opens it. The project manager page has the details.
A new project comes with a few things to start from: Roboto as its UI font, a sky image (Sky), and three meshes to build with: Cube, Plane and Sphere. They are in the Assets panel, under Environment, Fonts and Meshes.
The editor opens on the project’s page: its settings, its scenes (none yet) and Play.
Make a scene
Section titled “Make a scene”Choose File > New Scene. The editor creates a scene named Scene in the Scenes group of
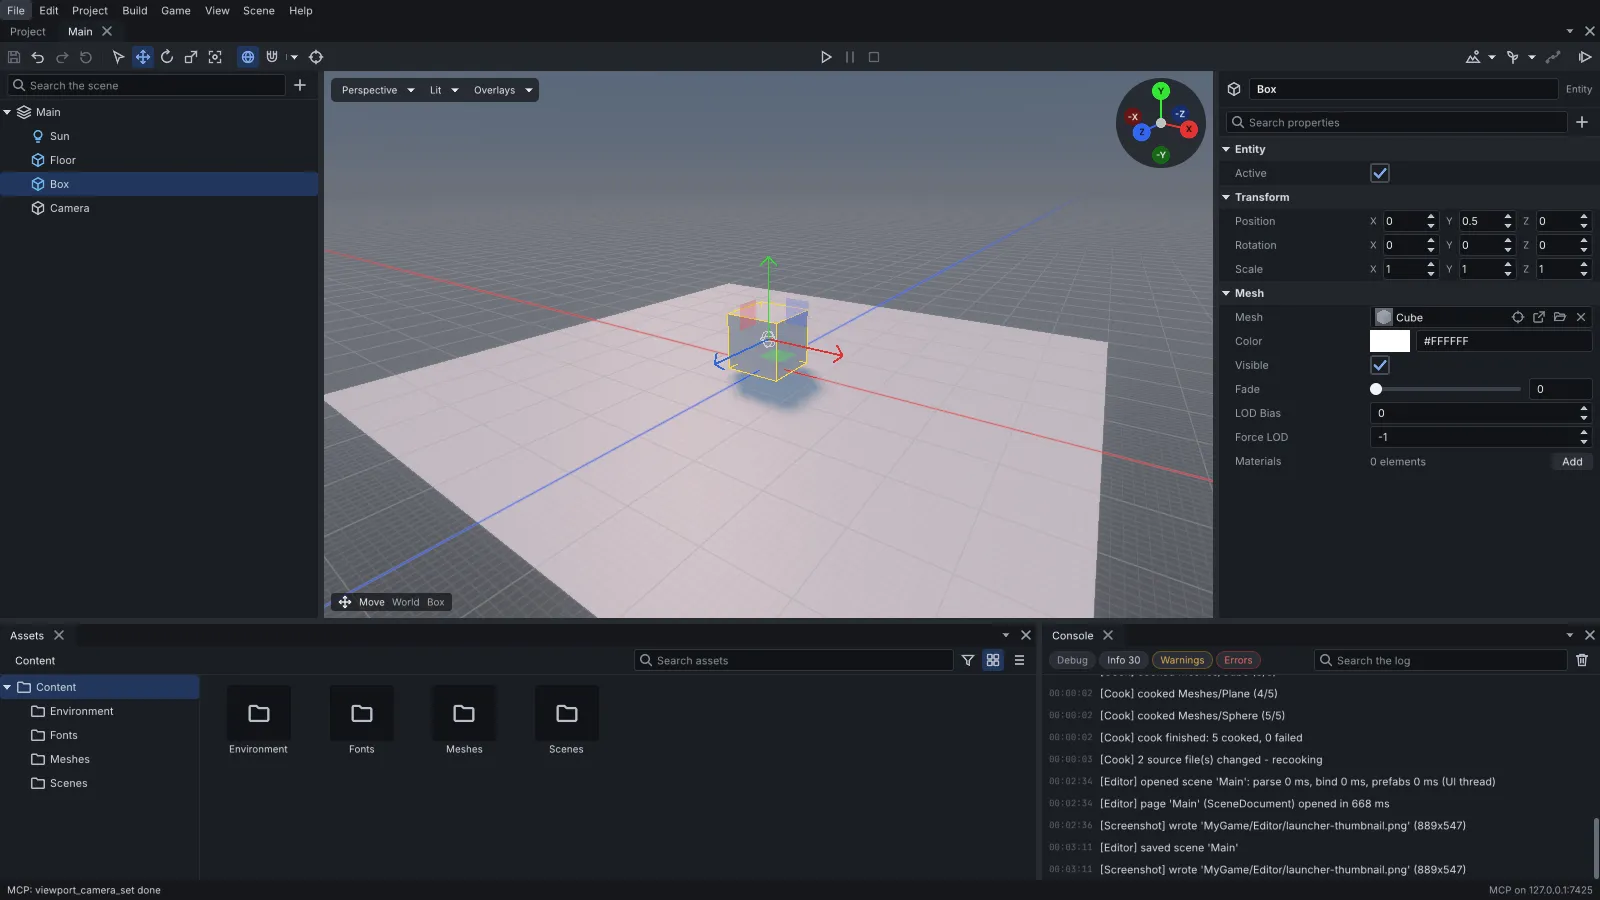
the Assets panel and opens it in its own page: the hierarchy of its entities on the left, the
viewport in the middle and the inspector on the right. To give it another name, say Main,
select it in the Assets panel and press F2 (or right-click it and choose Rename).
A new scene has one entity, a Sun: a directional light that casts shadows, angled so that what you add shows its shadow.
Add a floor:
- Choose Scene > Entity > Create Entity (or the + above the hierarchy). With the new
entity selected, type
Floorin the name field at the top of the inspector. - Click the + in the inspector’s toolbar (Add a component), find Mesh, and add it.
- In the Mesh component, set its mesh to Plane.
- In the Transform, set Scale to 10, 1, 10 so it covers more ground.
Add a box the same way: an entity named Box with a Mesh component whose mesh is Cube, at
position 0, 0.5, 0 so it stands on the floor.
Add a camera
Section titled “Add a camera”The game draws through a camera, so a scene with none shows nothing. Create one more entity,
Camera, and add a Camera component. A new camera has Primary turned on, which makes it
the camera the game draws through. Move it up and back from the box, for example to position 3, 2.5, 5, and turn it
to look at the box.
Save the scene with File > Save (Ctrl+S).
The game starts from the project’s default scene. The first scene you create in a project
becomes its default scene, so Main already is. To pick another later, open
Project > Project Settings… and set Default scene in the Startup section.
Choose Game > Play (or Play on the project’s page). The Game tab opens and runs the game as the player would: the default scene through its camera.
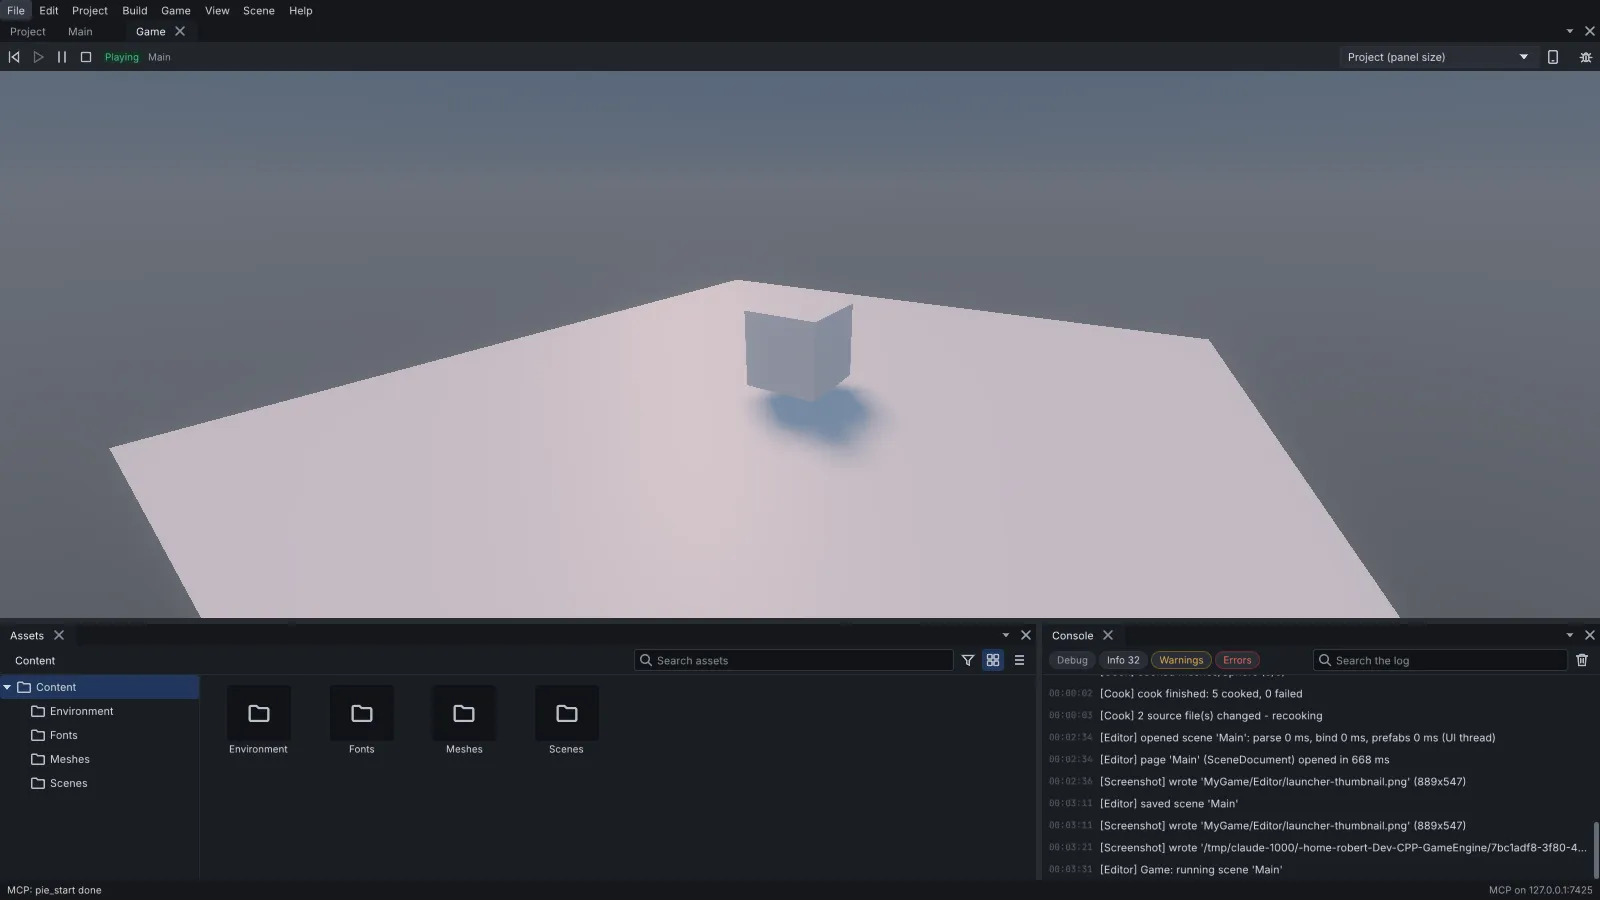
The Stop button in the Game tab’s toolbar ends the run.
A new scene’s sky is a plain gradient. To put the starter sky (or one of your own) behind it, see Skies. From here, the sample games show what a finished project looks like.